Popsicles are a long-time favorite treat for the summertime. Not only are they cold and refreshing, but they can make a great alternative to ice cream if you make them yourself. While store-bought popsicles can sometimes have just as much fat and sugar, making homemade popsicles is a great way to lighten up this tasty summer treat and have fun while doing it.
How to Make Homemade Popsicles
Homemade popsicles are easy to make. First, make sure you’re working with a good popsicle mold. You can find these at most grocery stores or you can order them online for a low cost. Silicone molds are a great option because they’re reusable, generally dishwasher safe, and you can make a handful of popsicles at one time. You can also buy disposable single-use freezer tubes if you don’t want to invest in reusable molds.
Choose Your Popsicle Type
When it comes to popsicle type, your two main options are fruity and creamy. What you decide will dictate what base you use for your popsicles.
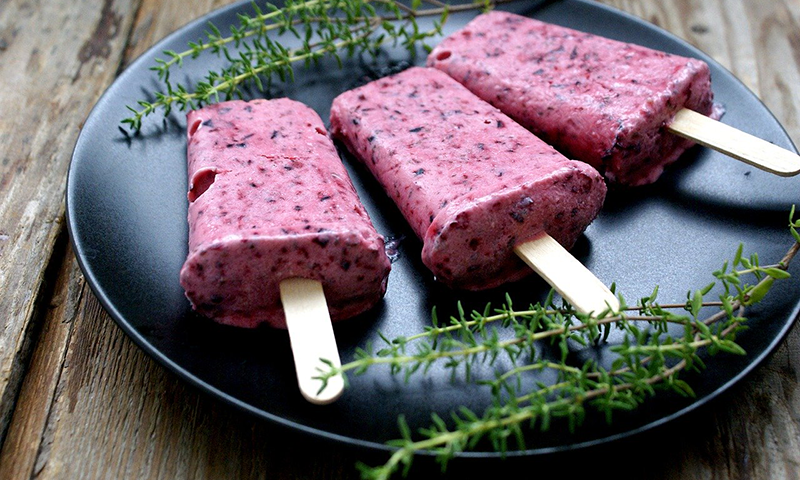
- Creamy popsicles can easily be made by using Greek yogurt or coconut milk as your base. Whether you use full-fat or low-fat is up to you, but full-fat will likely have a stronger flavor.
- Fruity popsicles are made with a base of fruit, then elevated with a type of liquid and sweetener. You can use juices like orange, apple or pineapple juice, or you can also choose something creamier like milk.
Choose Your Popsicle Flavors
Let your popsicles shine with vibrant fruity flavors! Fresh fruit makes a yummy and refreshing summer treat. Most berries work great in popsicles, and fan favorites include strawberries, blueberries and raspberries. Other great additions are kiwi, mango, pineapple, peach or watermelon.
When making your popsicle mixture, you can add-in pieces of whole fruit for texture or stick to just pureed fruit. If you want to add some sweetness but don’t want a ton of extra calories, you can add honey, agave nectar, a bit of maple syrup, plain sugar or a sugar substitute.
For additional flavor, opt for a nut-based milk like almond or cashew to add a bit more complexity to your popsicles. This will also make it a bit more creamier if that’s the texture and flavor you’re going for.
The Freezing Process
This is the easiest part! Just place your popsicle mixture in the molds of your choosing and then put them in the freezer to freeze solid. This step should take anywhere from four to eight hours.
Bonus Tips:
- You can also add spinach, kale or avocado to your popsicles without overpowering the taste. A good rule of thumb is that if an ingredient goes great in a smoothie, it will probably be great in a popsicle.
- If you don’t have molds, you can also use cupcake tins, shot glasses, ice cube trays or small yogurt containers.
- Make your popsicles in large batches so you and your family have plenty to grab after working up a sweat outside!
- Popsicles will lose some of their flavor intensity during the freezer process, so you might want to make your mixture bolder and sweeter than what you would normally think to do.
Have fun and get to freezing!